Restoring your property to full potential with exterior painting
Jim Rutkowski • December 20, 2019
Whoever came up with the clever phrase of not being able to judge a book by its cover clearly didn’t have painting in mind.

The legal landscape and other challenges for rental property owners in the Bay Area have evolved over the many years we have been managing properties, yet our goals have remained constant. The only question is how to cost-effectively achieve them.
In our mission of maximizing rental income and increasing resale value with the least expense and hassle while improving the renter experience, a fresh coat of paint checks all of these boxes.
We know this subject is about as exciting as watching paint dry, but what can make the heart strings zing is more money, more qualified tenants, and a more enduring stay of these studious residents.
Clearly, there are many potential upgrades and renovation projects you can consider when increasing the value of your investment property while taking care of renters, but exterior painting has made the top of our list of projects that deliver the most bang for your buck.
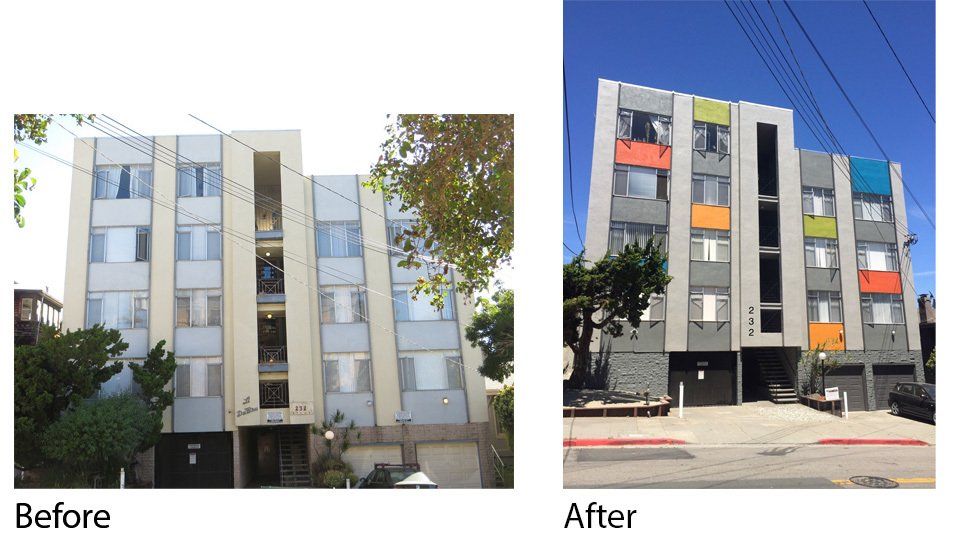
Take a look at the before and after pictures of one building under our management. The bland look was a bit of a downer compared to the fiery, contemporary colors that fit into some of the more modern paint schemes that emblazon buildings in our area.
Investing in attraction and retention
Savvy owners know exterior housing painting not only makes a big difference aesthetically, but serves as an investment in finding and retaining the right tenants who take pride in their surroundings. The operative term is the right tenants.
The right tenant is one who takes good care of his or her rental unit, and there are certain indicators. Residents with renters insurance, for example, have generally proven to be more responsible tenants. While we all pay month after month for certain required policies like auto insurance and grumble under our breaths about the better uses we have for our money, renters insurance is optional and signals that the tenant genuinely cares about the condition of the residence and wants to make your property their home.
One of our tasks at Bay Property Group is to “paint a picture” of the most profitable tenants in it for the long haul, drive their eyeballs to the rental unit, and keep these happy campers implanted.
Painting can likewise instill a sense of well-being and belonging
When you exert a little effort to make your property look the best, happy tenants are likely to reciprocate. It also helps your property get noticed in front of prospective tenants who envision a home, and not merely a place to lay their head.
Protections against the elements, as well as insects and rodents
Without the protective layer of exterior paint, the materials of the property can be damaged. This deferred maintenance can be enlarged into bigger and more expensive problems if not addressed by painting professionals under the tutelage of Bay Property Group.
Dry rot, paint chipping and peeling, extreme cracking and breaking at the base of the building, are all tell tale signs that your investment property is a serious candidate for painting. In many properties under our portfolio, we notice signs of age in the caulking around doors and windows, ailments which can be addressed by a painting professional under our guidance.
Who to hire
Inexperience frequently leads to delays, expensive results and poor workmanship, but Bay Property Group has reputable painters on standby who can get the job done right, with minimal hassle, cost and disruption. Whether you want to give the exterior of your rental property a makeover, are looking to refresh your hallways, or revitalize the building inside and out, Bay Property Group can take the guesswork out of the equation and help color your success in your real estate business.
Share this post

Keeping your home in good condition is a dual responsibility. We are committed to taking good care of our residents, but here is how you can do your part. How to reset a circuit breaker More often than not, when a circuit breaker trips, it is designed to reset and typically does not need to be replaced. Fortunately, there are some easy steps you can take to restore power without the need of a costly service call. READ MORE → Addressing other electrical issues If resetting the circuit breaker doesn't work, here's how to troubleshoot the problem to get the lights turned on. READ MORE → Putting sliding doors back on track Sliding closet doors can be tremendous space-savers, but it can be frustrating when they are knocked off their tracks. READ MORE → Preventing organic growth in the bathroom from shower steam Like a long, hot shower? So does mold. How to prevent and remediate mold in high-humidity conditions. READ MORE → Cleaning greasy kitchen range hoods Peel back your stove's hood and check the exhaust fan filters and you may get a nasty surprise. It may be time to roll up your sleeves. READ MORE → Cleaning out dryer lint Avoid longer dry times, wasted energy, and fire hazards. READ MORE → Resetting your garbage disposal Problems like overheating, clogging, or light fault will indicate a reset by shutting down voluntarily. But the question now is how to reset a garbage disposal. READ MORE → Dealing with a refrigerator freezer iced ove r When frost forms on the shelves of your refrigerator or inside the freezer compartment, there are preventative steps you can take and remedies you can do on your own to get thawed out. READ MORE → Patching small holes in the wall We're not talking about a dark, dingy bar or restaurant. When accidents happen, a hole in the wall can occur. Here's how to make them look like they never happened. READ MORE → Changing batteries in a malfunctioning smoke detectors When sensors become weak and less efficient, don't neglect them and put your household at risk. READ MORE → Replacing light bulbs When they are reachable, replacing burnt out light bulbs are one of the responsibilities of residents and one that can be easily done, with a few caveats. READ MORE →
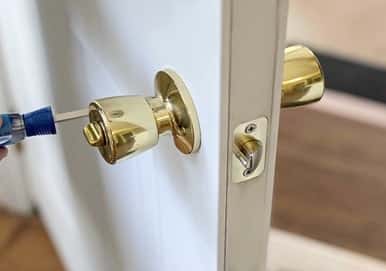
Loose door knobs or handles are a common problem residents have to deal with at some point, but the good news is it is relatively easy to fix. Remove the knob or handle to separate the doorknob from the splinter shaft, remove the base, find the set of screws and tighten. You can then restore the base and put the handles back on. It is likewise a cinch to tighten the hinges on cabinets and toilets. Please note that most residential leases prohibit residents from tampering with or changing locks and if keys are lost requiring a rekeying, it is the tenant’s responsibility.
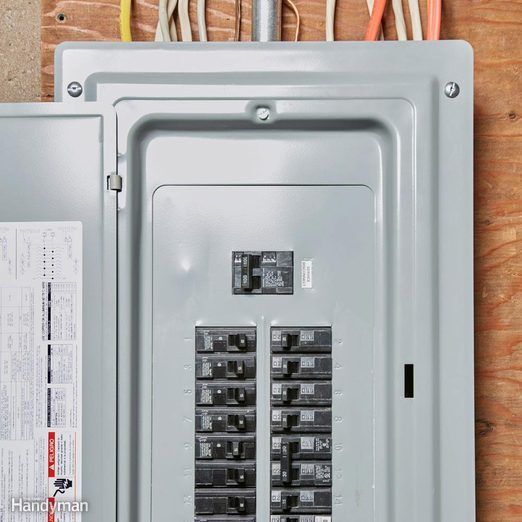
To reset a breaker, residents can follow some simple steps. Before anything, turn off any important, electricity-guzzling devices and appliances such as televisions, video game systems, air conditioning units, and the like to prevent damage when the power is reset. Now locate the load center or electrical panel in your home. These are commonly located in garages, basements, or utility closets. Don’t forget to bring a flashlight if the tripped circuit left you in the dark. Next, locate the tripped circuit breaker by finding the one where the handle is in the center or "trip position," or not fully on position. When the circuit breaker is tripped, the handle moves toward the opposition but does not move all the w ay off.
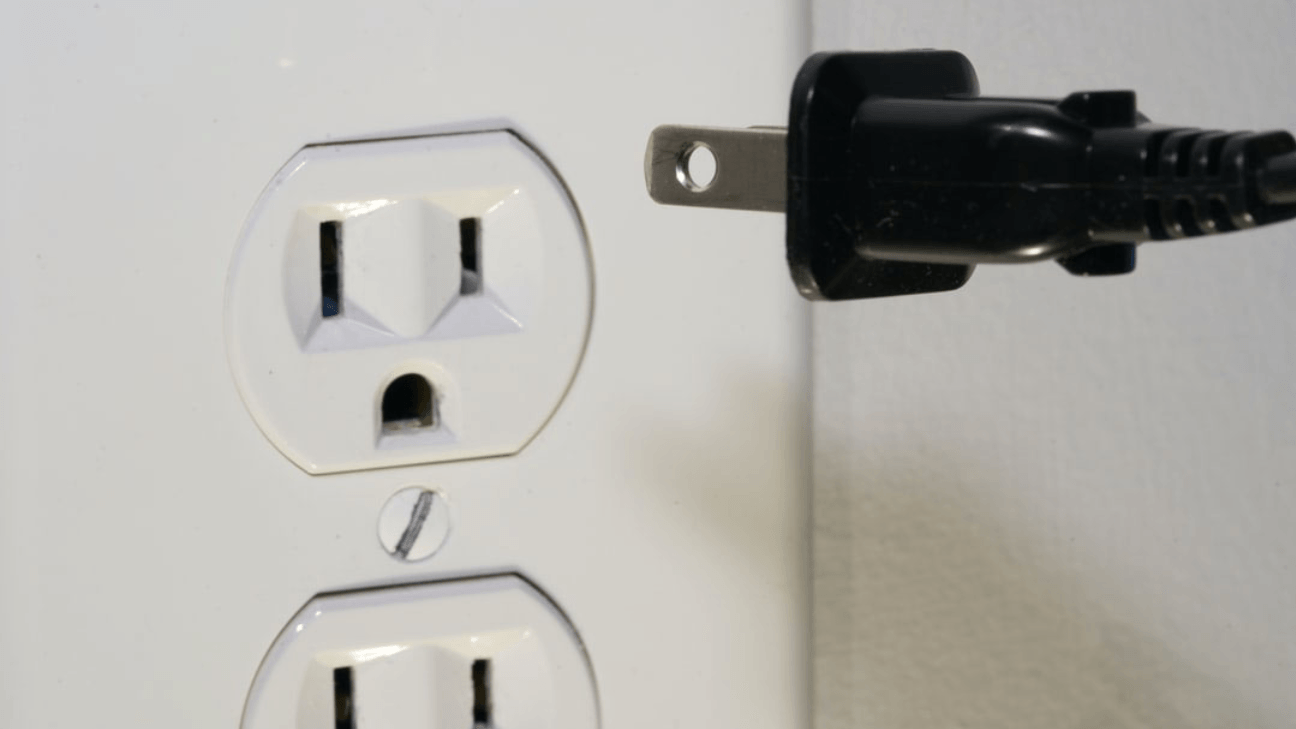
More often than not, if a circuit breaker trips, it is designed to be reset and typically does not need to be replaced. If Bay Property Group has to dispatch an electrician or maintenance staff to resolve an electrical issue that could be easily fixed by the resident, there will be an additional charge for the service call. To reset a breaker, residents can follow some simple steps we outline here » More diagnostics - some questions to ask Is it just one appliance or device that is not working? Check the outlet with another appliance that you know is functioning on another outlet. If the perfectly fine appliance or device is getting power in one outlet but not the other, then there is a glitch with the outlet. In the event that the appliance does not power on with any outlets that you know to be supplying electricity without incident, there is a defect in the equipment you are plugging in. If the appliance is owned by the landlord, contact your property manager. Otherwise, if you personally own the appliance or device, you will, unfortunately, have to repair or replace it at your expense. Is the whole rental unit out of power, just one area of your home, or the entire building or neighborhood? If the electrical outage is isolated to one room or outlet, you should reset the breakers, as discussed above. On the other hand, if you are getting no power anywhere in your home, confirm that the service is properly set up with your utility company or the bill has been timely paid. Moving onto another scenario, if the entire building is out of power, you are advised to check with the utility company for any known issues. If there are no known issues, contact Bay Property Group so that we find the root cause and fix it. When you discover that there is a widespread power outage (perhaps by neighbor accounts or noticing that lights do not work anywhere near your residence), report it to your utility company and they will assuredly address the event. In cases of a large-scale blackout, there is unfortunately little we at Bay Property Group can do but from our experience, these snafus are only temporary. So that we can best deploy our maintenance personnel and other resources to provide the fastest, most efficient service to our residents, we kindly ask that you exhaust some “DIY” measures before calling property management. If our residents have utility service connected and the underlying issue could be solved with a mere resetting of the breakers, in fairness to all tenants, we make it our policy across the board to charge for service calls.
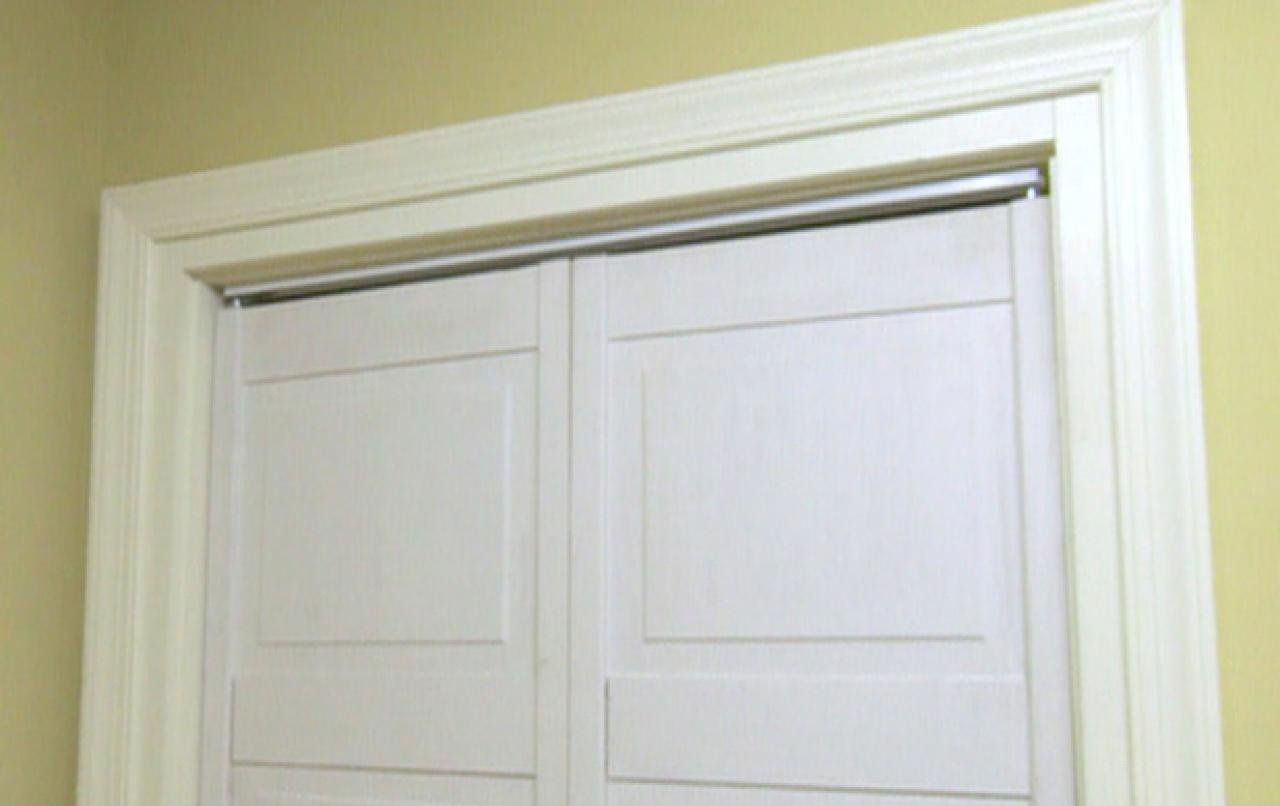
Sliding closet doors can be tremendous space-savers, especially in tight spaces, but it can be frustrating when they are knocked off their tracks. Hopefully, it is a quick and easy fix. When there is debris that might be holding up the door, you can vacuum it out with a crevice attachment. If the door doesn’t slide easily, you can use a lubricant. Other times, you may need to lift the door back on its track. Care should be used so that you did not damage the doors or tracks. If there is a mishap, you may be responsible.
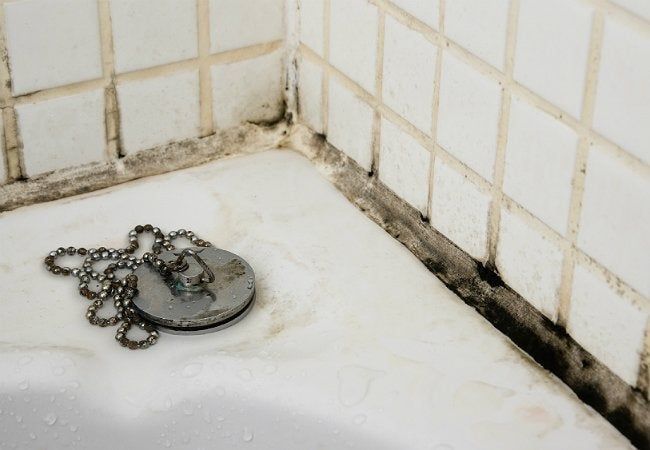
The high humidity with steam showers provides the perfect breeding ground for mold to grow. A vent fan will improve air quality by drawing out moisture and odors from the bathroom, so be sure to always turn it on during and after a shower. You can also be conscientious of keeping the shower door or curtain open when you are done to provide ventilation. Wiping off excessive moisture will go a long way in preventing the consequences of condensation. Using a water/bleach combination or bathroom multipurpose cleaner, spray the shower walls and bathtub. Rinse the surfaces down with water, either from the shower or cups of water, and dry the tiles. Thinking beyond a weekly wipe down and deep cleaning your shower? You can remove the showerhead from the wall and soak it in a 50/50 white vinegar and water mixture in a basin or perhaps, a sealed plastic bag.
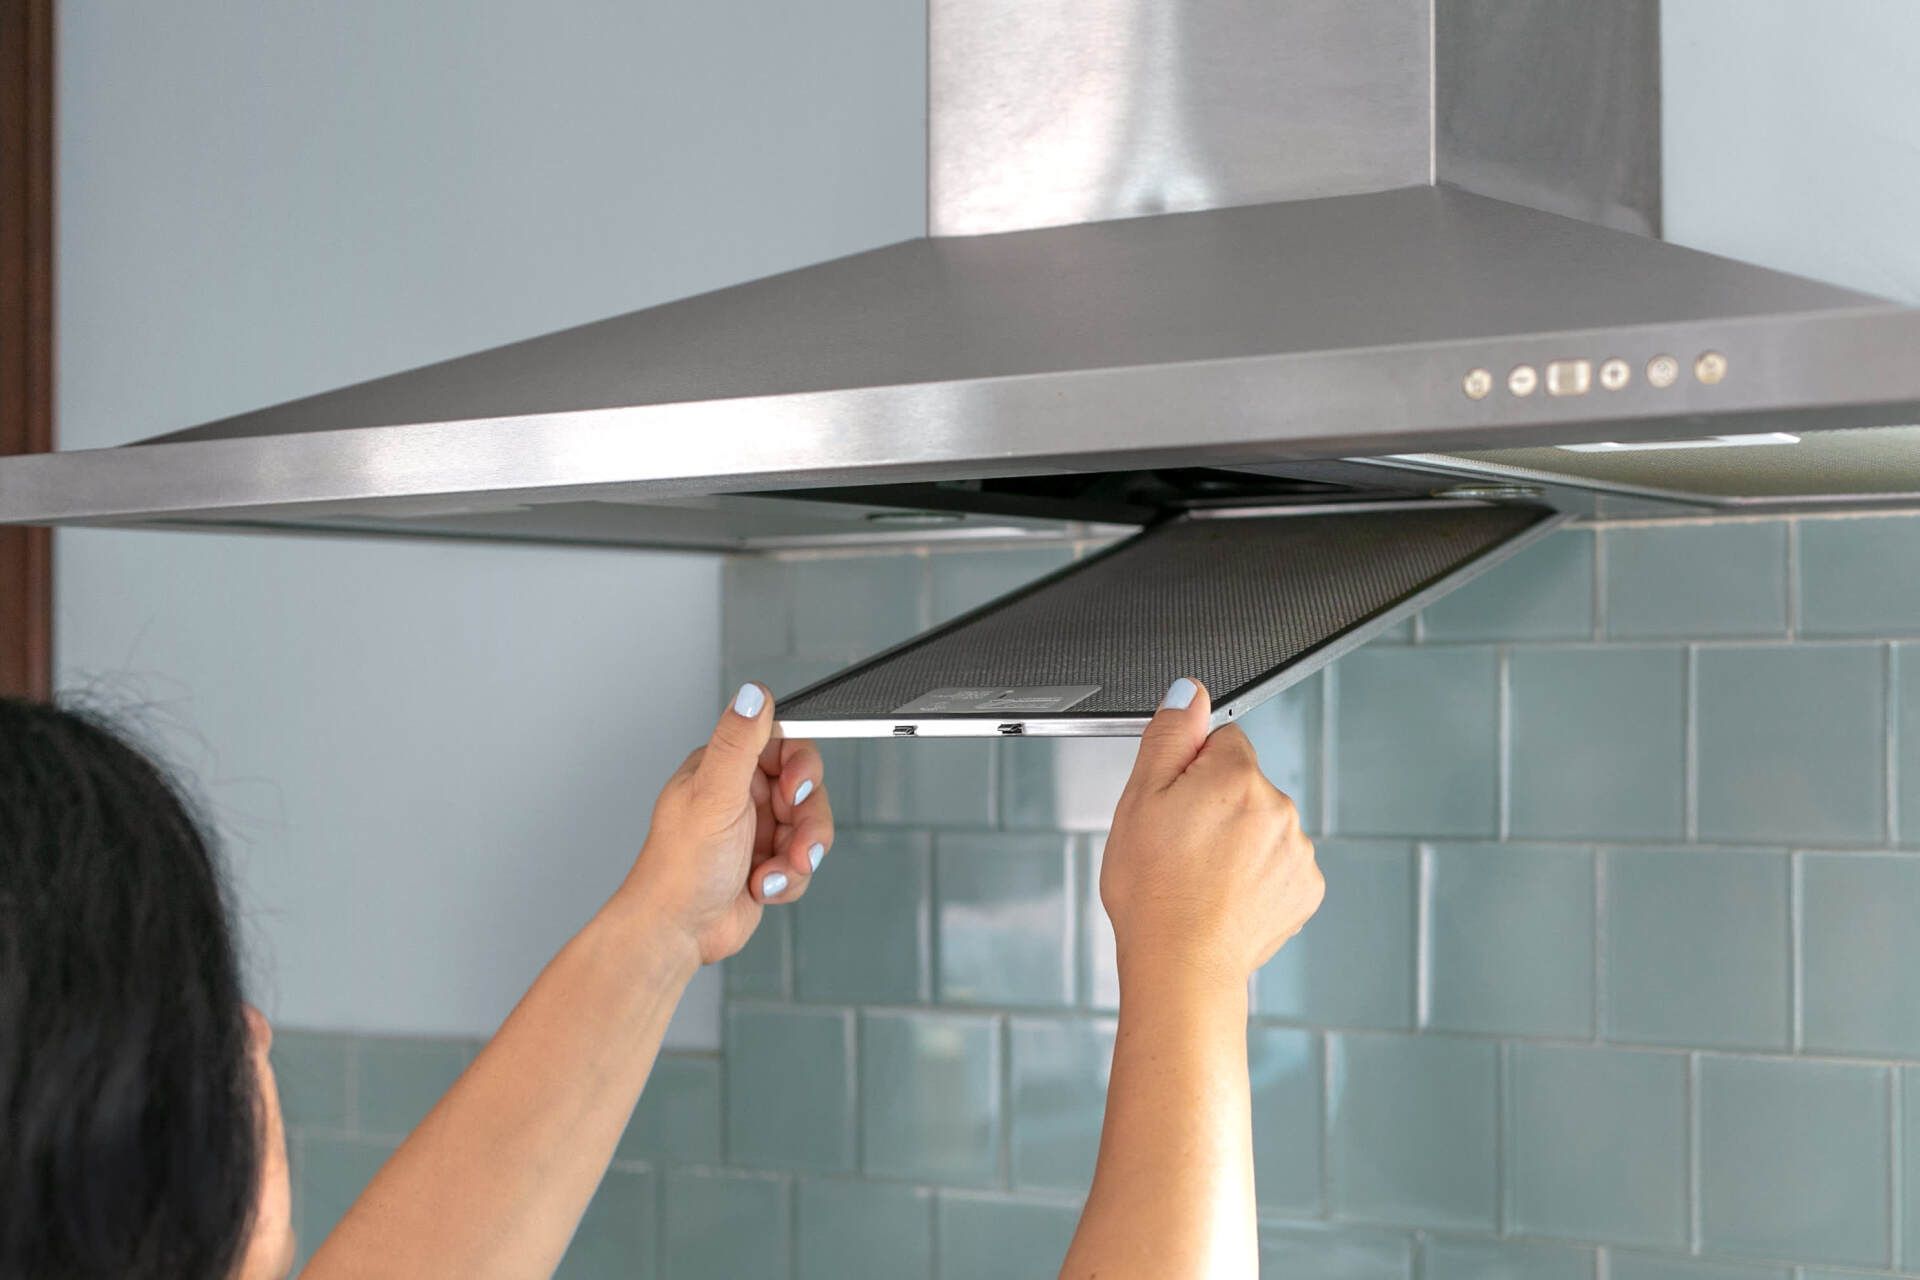
If you peek under your stove's hood and check the exhaust fan filters, you might find that it's not pretty. That's because a range hood filter is supposed to collect grease. The filter can get so gunked up over time that it loses its effectiveness, which is why we recommend periodically de-greasing them. Get ready to roll up your sleeves. Your range hood cleanliness begins with dusting to eliminate particles from the surface. We recommend using a dust brush cleaner with a brush that is able to get to delicate and hard-to-reach places. Before doing this, cover the stove with a cloth so that dirt and debris don't fall inside. Let’s move on to cleaning the filters. The first step is to remove filters from the hood. Most filters easily slide or pop out of the underside of the hood. Let the filters soak in a sink or tub with hot or boiling water and a generous squirt of dish soap. Baking soda can also help. Swish around with a brush until the water is soapy and make sure the filters are fully submerged. Once the filters have soaked for 15-20 minutes, use a non-abrasive scrub brush to scrub the filters, adding more dish soap if necessary. Simply rinse the filters in hot water, dry, re-insert the filters back into the hood, and repeat periodically. Cleaning the filters once a month is a general rule of thumb.
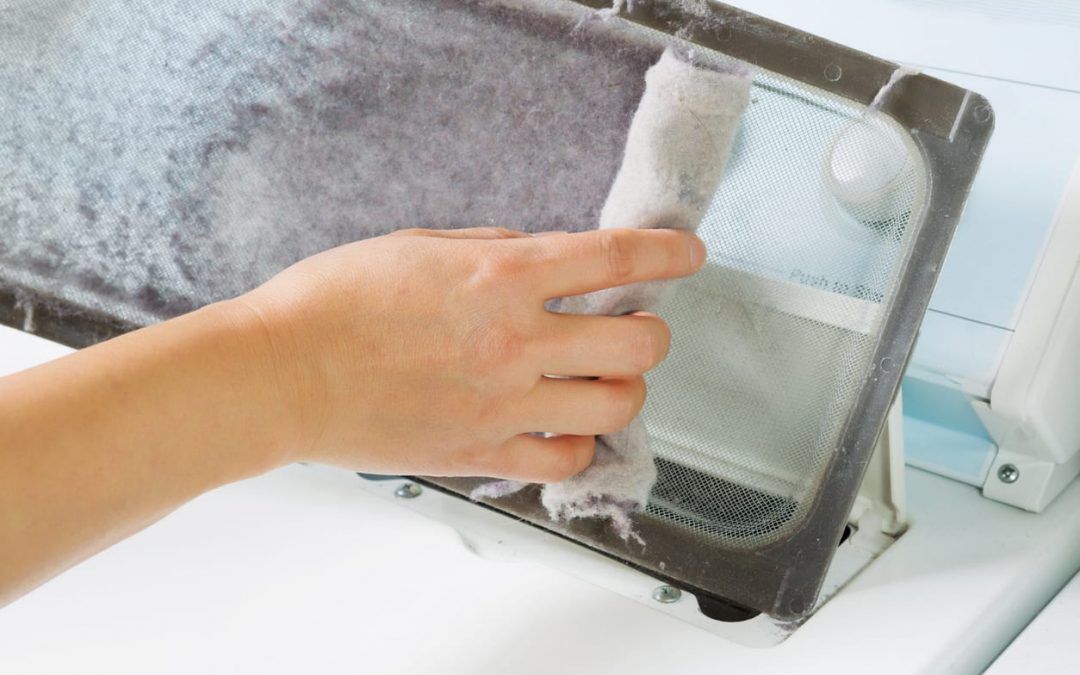
Constant cleaning is the key to preventing fire hazards and lowering your energy bill. By not clearing out combustible lint, the dryer becomes a fire hazard. In fact, more than 3,000 fires a year are caused by lint. Your clothes will take longer to dry, as well. It only takes a few seconds to clean your dryer’s lint filter, and this should be done after each and every load. Even if the dryer filter is clean, lint can still build up in the duct that vents outside. Here’s how to clean your dryer inside and out: Unplug your dryer. If it’s a gas dryer, turn the supply valve off while you work to prevent gas from leaking. Pull the dryer away from the wall and disconnect the exhaust duct on the back of the dryer. Loosen up debris with a flexible dryer vent cleaning brush and vacuum out any excess lint. Do the same exercise where the dryer vents outside. Pro tip: If you have a leaf blower, you can insert the blower where the dryer vent begins at the dryer location and allow the air to blow lint out. We recommend you do this thorough cleaning once or twice a year. Of course, you should always turn the dryer off when you are not home and consider attaching a safety alarm to the duct - this can warn you when a dangerous level of lint accumulates.
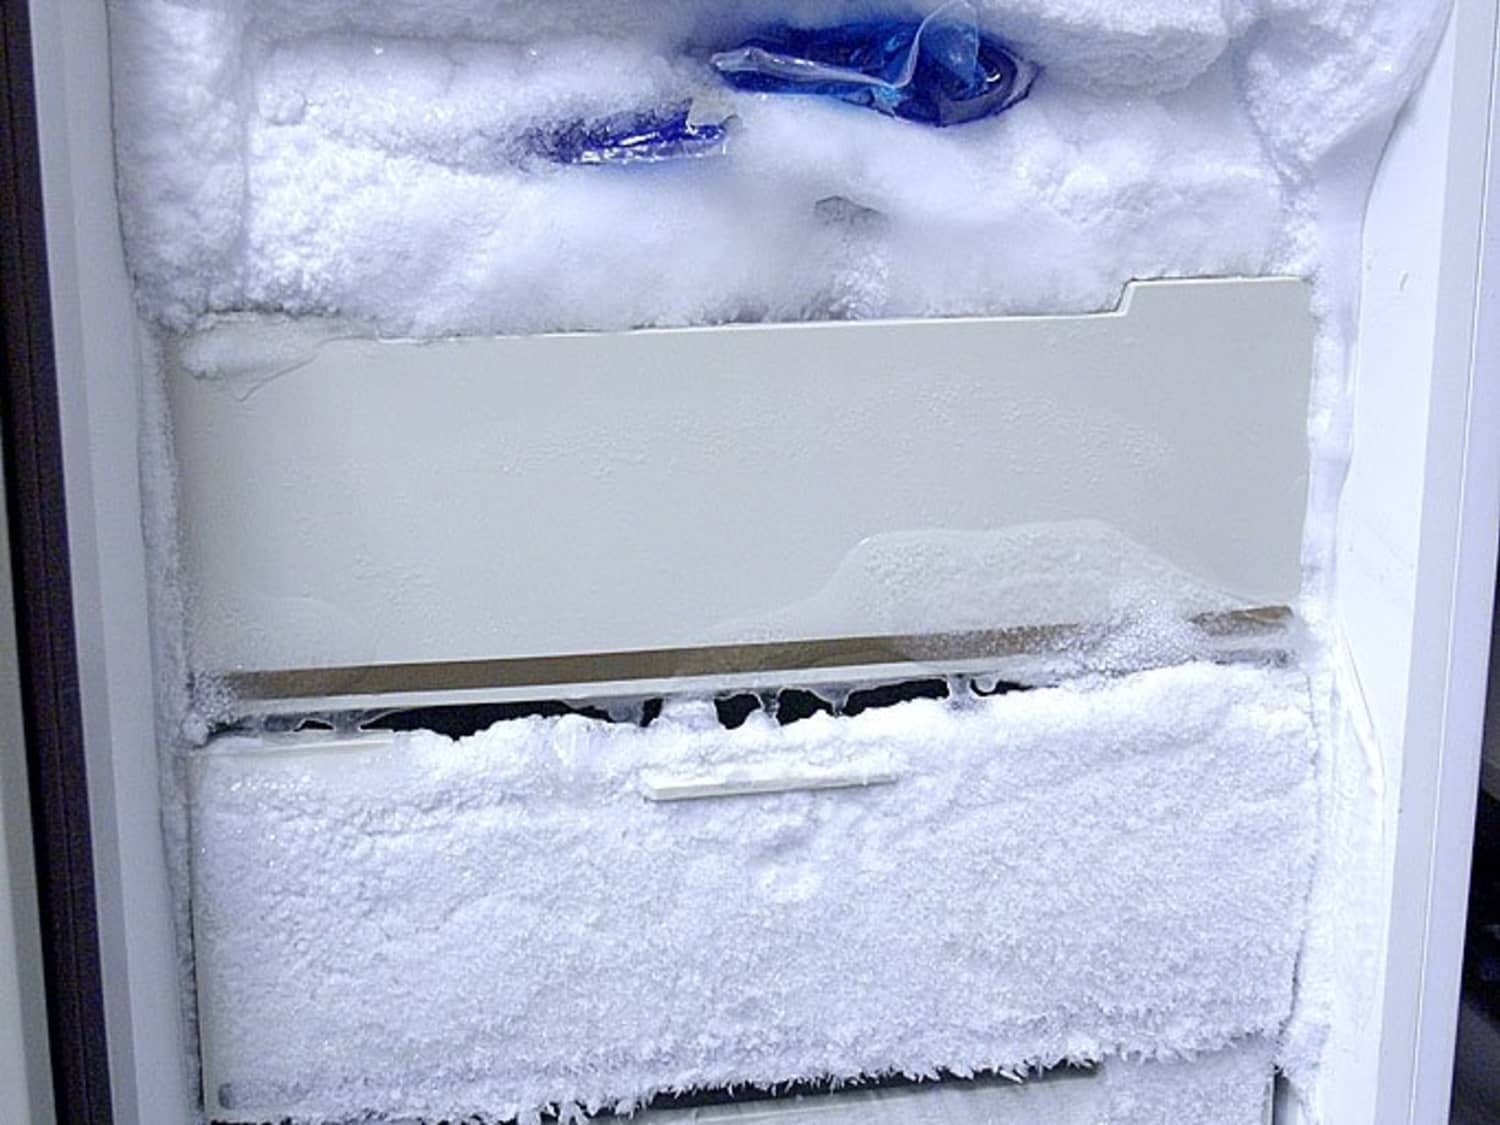
If frost is forming on the shelves or walls of your refrigerator or inside the freezer compartment, there may be many culprits to blame. Before having a technician work through causes and solutions, there are some steps you can take to avoid getting iced out and remedies you can do on your own to get thawed out. Oftentimes, the temperature for the refrigerator has been set too low or too high and you can adjust the temp setting to correct the problem. In other instances, dirty or dusty coils will throw the compressor into overdrive, making it work harder to maintain a freezing temperature in the freezer. This can result in over cooling. You can pull the refrigerator away from the wall and use a canister vacuum to eliminate the dust from the coils. One of the simplest instructions we can give is to keep doors shut to prevent moist air from being drawn into the appliance. Close the door fully after proper use, check for overstuffed doors, faulty door seals, loose door hinges, and ensure your refrigerator is level so the doors stay closed. More tips: if the refrigerator is close to the wall, keep some distance. This will give it some "breathing room" by allowing extra air to circulate. If you have hot dishes or fresh food being placed in the refrigerator, give them time to cool down before placing them straight in the fridge, as this alters the inside temperature and can lead to ice. Another common cause of ice over is simply too many food items packed in the refrigerator and freezer. There needs to be enough room to allow air to properly circulate.
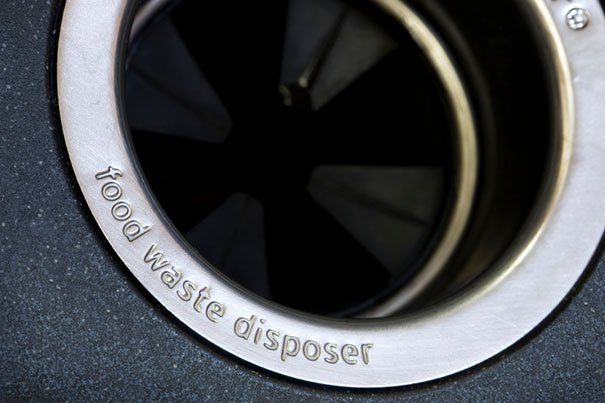
First, a safety reminder is in order: Never put your hand down into a garbage disposal but instead, use some sort of tool to dislodge any food particles or debris. Although the horror flick images of victims getting limbs severed in a garbage disposal is Hollywood fiction, you can get painfully injured. When the garbage disposal quits out, what you need to know is that these appliances are smarter than one might expect. It is designed to shut off when it is clogged, it overheats, or there is something wrong with the motor. It also comes equipped with a secret red reset button at the bottom. Three easy steps to reset your garbage disposal: Ensure that the disposal switch is in the “OFF” position. Gently press the red button and it does not stay in, wait several minutes and try once again. By turning on a cold stream of water and turning the disposal button to the “ON” position, your garbage disposal should now start running again. If, however, the reset button will not stay in or the overload protector needs to be repeatedly reset, this is an indication that the garbage disposal may need service or require replacement.
